(1).png?w=320&h=320)
Seed Starting
Indoor Seed Starting: A Simple Guide for Beginners
Learn how to start seeds indoors with simple supplies, clear steps, and beginner-friendly tips for growing healthy seedlings at home.
Starting seeds indoors is one of the easiest ways to begin your garden before the outdoor growing season starts.
You do not need a large backyard, expensive tools, or years of gardening experience. With a few seeds, a small container, good light, steady moisture, and a little patience, you can grow healthy seedlings right at home.
Indoor seed starting is perfect for beginners, small-space gardeners, and anyone who wants to enjoy growing plants from the very beginning. Whether you want to grow vegetables, herbs, flowers, microgreens, or fruit plants, starting indoors gives your seeds a safe and warm place to sprout.
In this guide, you’ll learn how to start seeds indoors step by step, what supplies you need, which seeds are best for beginners, and how to grow strong seedlings with confidence.
What Is Indoor Seed Starting?
Indoor seed starting means planting seeds inside your home before moving the young plants outdoors or into larger containers.
Instead of waiting for warm weather, you can start your seeds in seed trays, small pots, or containers indoors. This gives your plants a head start and helps them grow stronger before they face outdoor conditions.
It is a simple way to begin gardening early, especially if you live in a place with a short growing season or unpredictable weather.
Why Start Seeds Indoors?
Starting seeds indoors gives you more control and more growing possibilities.
- You can begin your garden earlier in the year.
- You can grow more plant varieties than what you usually find as young plants in stores.
- You can protect young seedlings from cold weather, strong wind, and pests.
- You can save money by growing plants from seed.
- You can enjoy the full process from seed to sprout to harvest or bloom.
Best Seeds to Start Indoors
If you are new to indoor seed starting, begin with seeds that are easy to grow and rewarding to watch. Fast-sprouting or beginner-friendly seeds can help you see progress quickly.
Good seeds to start indoors include:
Vegetable seeds, herb seeds, flower seeds, fruit seeds, and microgreens seeds can all be good choices, depending on your space and growing goals.
If this is your first time, start small. Choose two or three seed varieties you are excited about. A few healthy seedlings are much better than too many trays that become hard to manage.
Plantjoyfarm tip: At Plantjoyfarm, you can find seeds for home gardens, small spaces, indoor growing, flower beds, containers, and beginner-friendly planting projects.
What You Need to Start Seeds Indoors
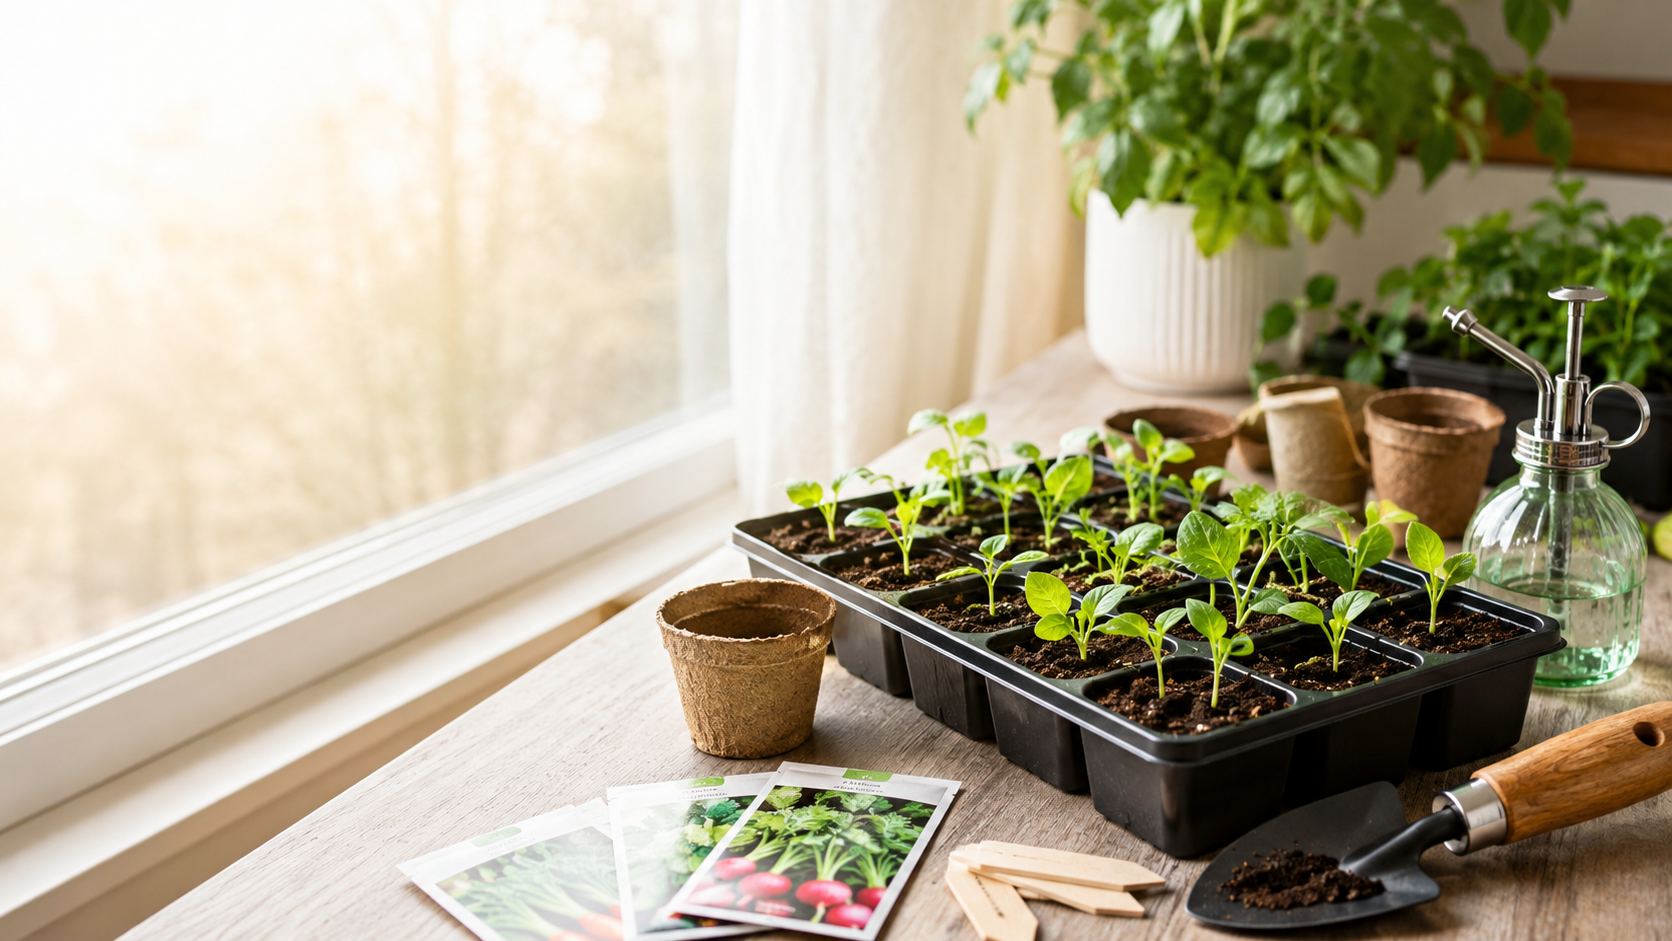
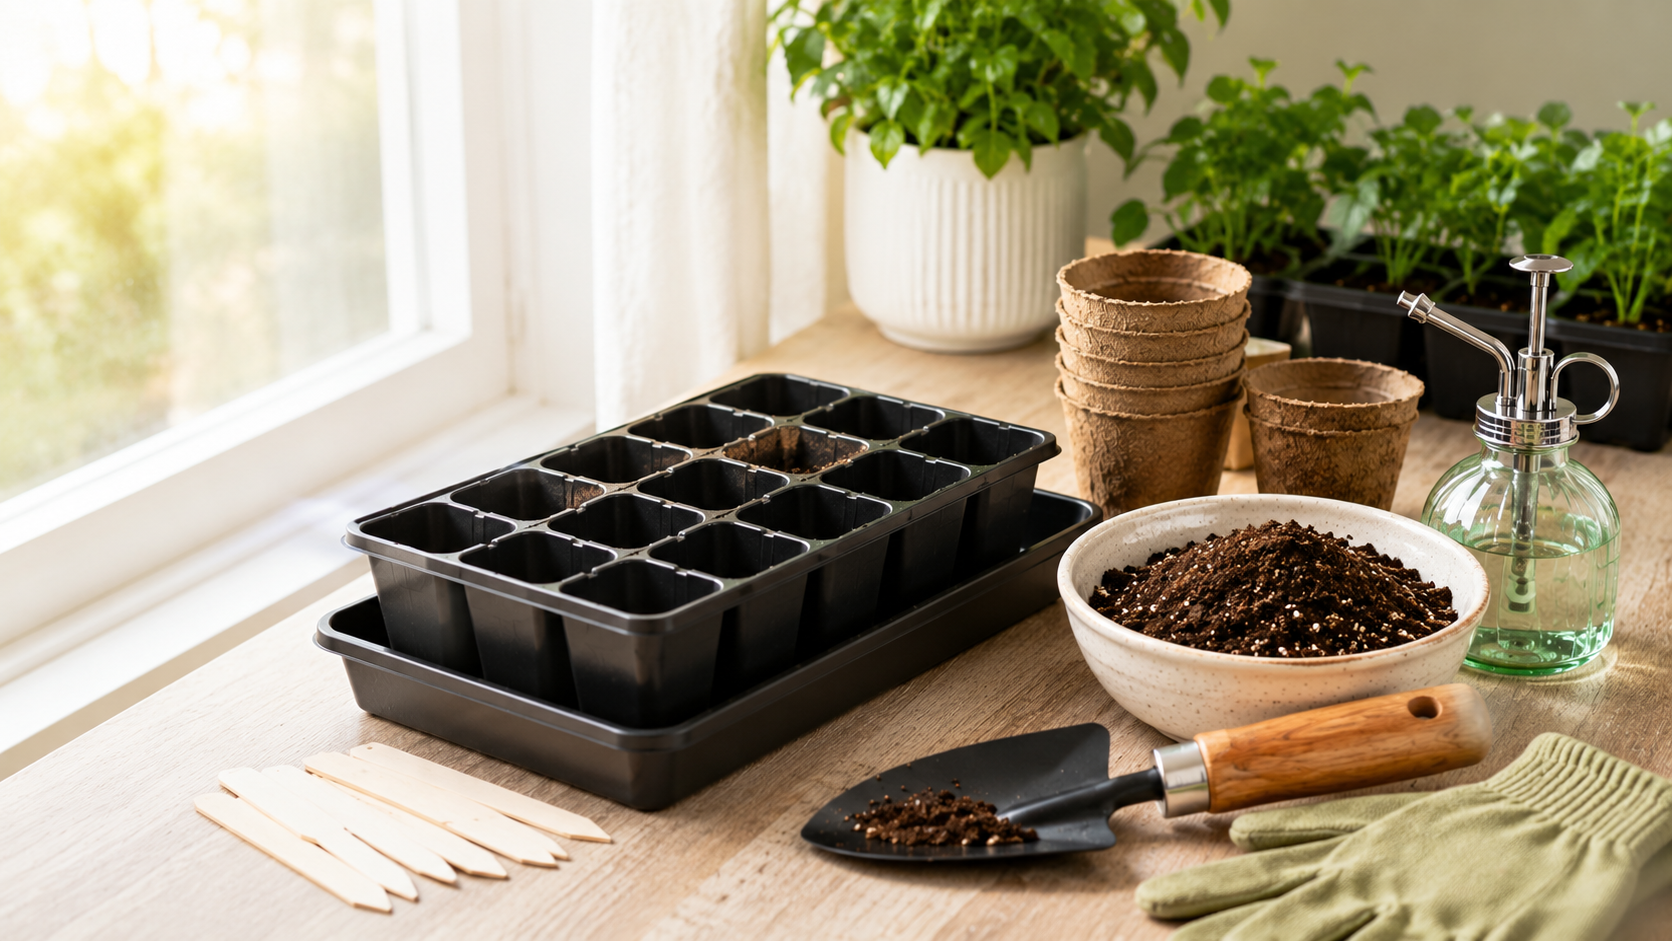
You do not need a complicated setup. A simple indoor seed starting station can fit on a table, shelf, windowsill, or small corner of your home.
1. Seeds
Start with fresh, high-quality seeds. Good seeds give you a better chance of strong germination and healthy seedlings.
Choose seeds that match your space. If you have a sunny windowsill, herbs and microgreens can be a great start. If you have a small garden or raised bed, tomatoes, peppers, flowers, and vegetables can be started indoors and moved outside later.
2. Seed-Starting Mix
Use a light seed-starting mix instead of heavy garden soil.
Seed-starting mix is soft, airy, and easier for tiny roots to grow through. Garden soil can become too heavy indoors and may hold too much water.
The soil should feel lightly moist, not soaking wet.
3. Containers or Seed Trays
You can use seed trays, small pots, cell packs, biodegradable pots, or clean recycled containers.
The most important thing is drainage. Your containers should have holes at the bottom so extra water can escape.
4. Light
After seeds sprout, seedlings need bright light.
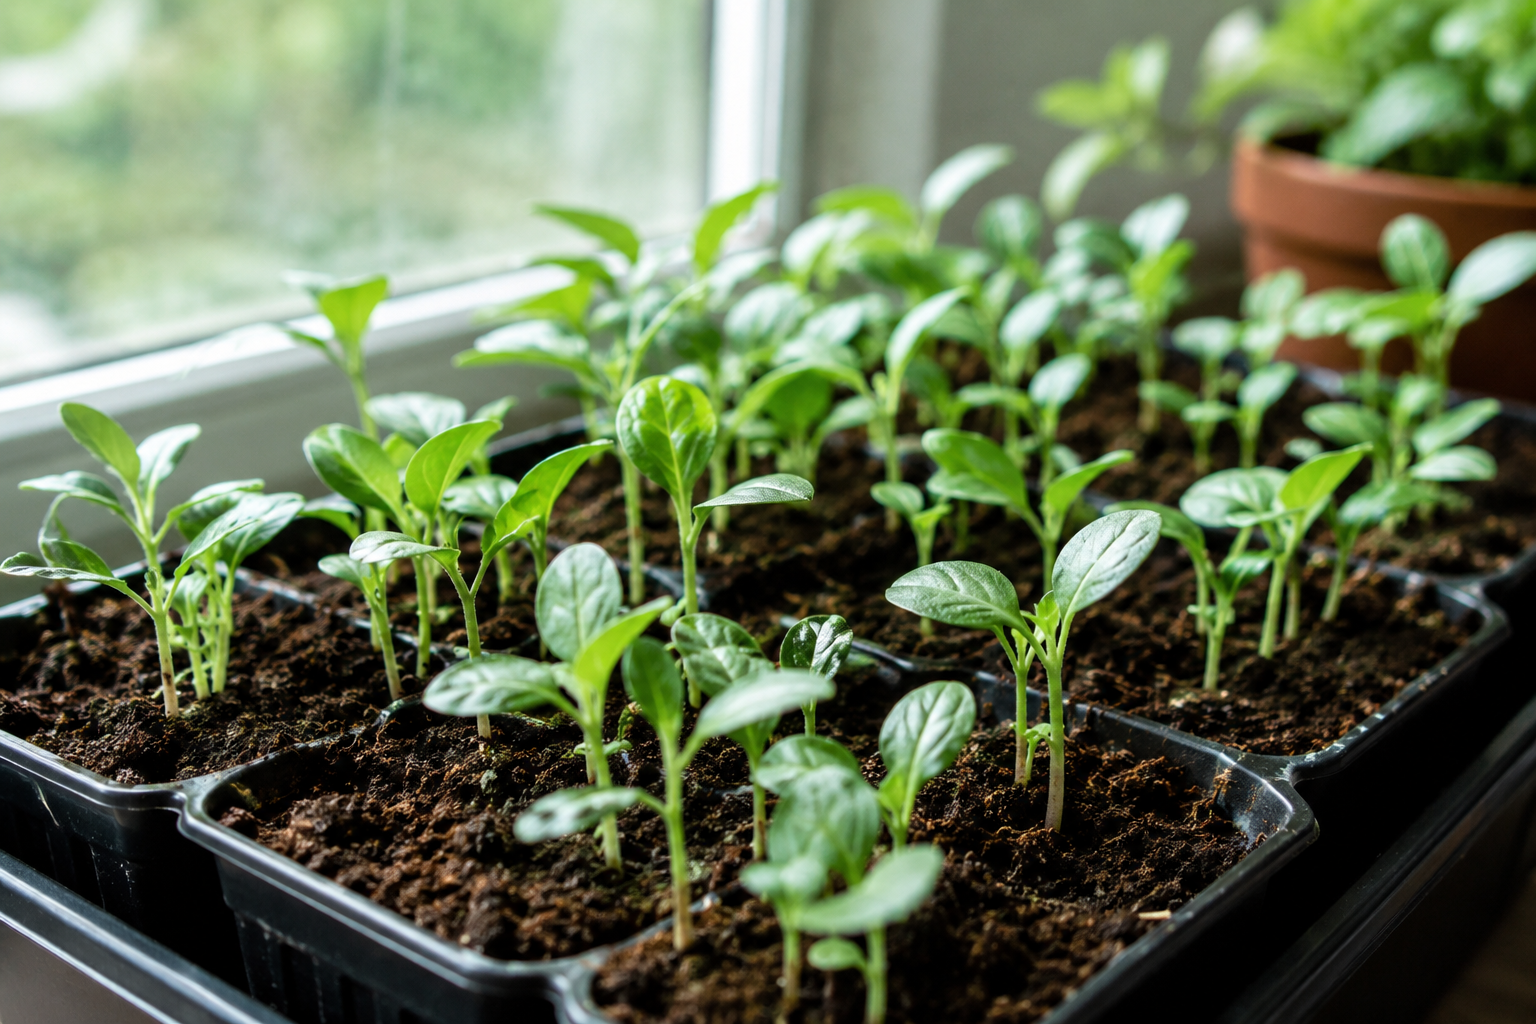
A sunny window may work for some plants, but many seedlings grow stronger under a grow light. Without enough light, seedlings often become tall, thin, and weak.
5. Water
Use a spray bottle, gentle watering can, or bottom-watering tray.
Young seeds and seedlings are delicate. A strong stream of water can move seeds around or damage tiny roots.
The goal is to keep the soil evenly moist, not soggy.
6. Labels
Plant labels are simple but very helpful.
Write the seed name and planting date on each label. This helps you remember what you planted and track how long each variety takes to sprout.
How to Start Seeds Indoors Step by Step
Indoor seed starting is easier when you follow a simple process.
Step 1: Choose the Right Time
Before planting, check when your seeds should be started indoors.
Some seeds need to be started several weeks before the last frost date. Others grow quickly and do not need as much time indoors.
Warm-season plants like tomatoes and peppers usually need more time. Fast-growing greens, herbs, and microgreens may need less time.
Step 2: Prepare the Soil
Add seed-starting mix to your container or seed tray.
Before planting, lightly moisten the mix. It should feel damp but not muddy. If you squeeze it in your hand, it should hold together slightly but not drip water.
Do not pack the soil too tightly. Loose soil makes it easier for roots to grow.
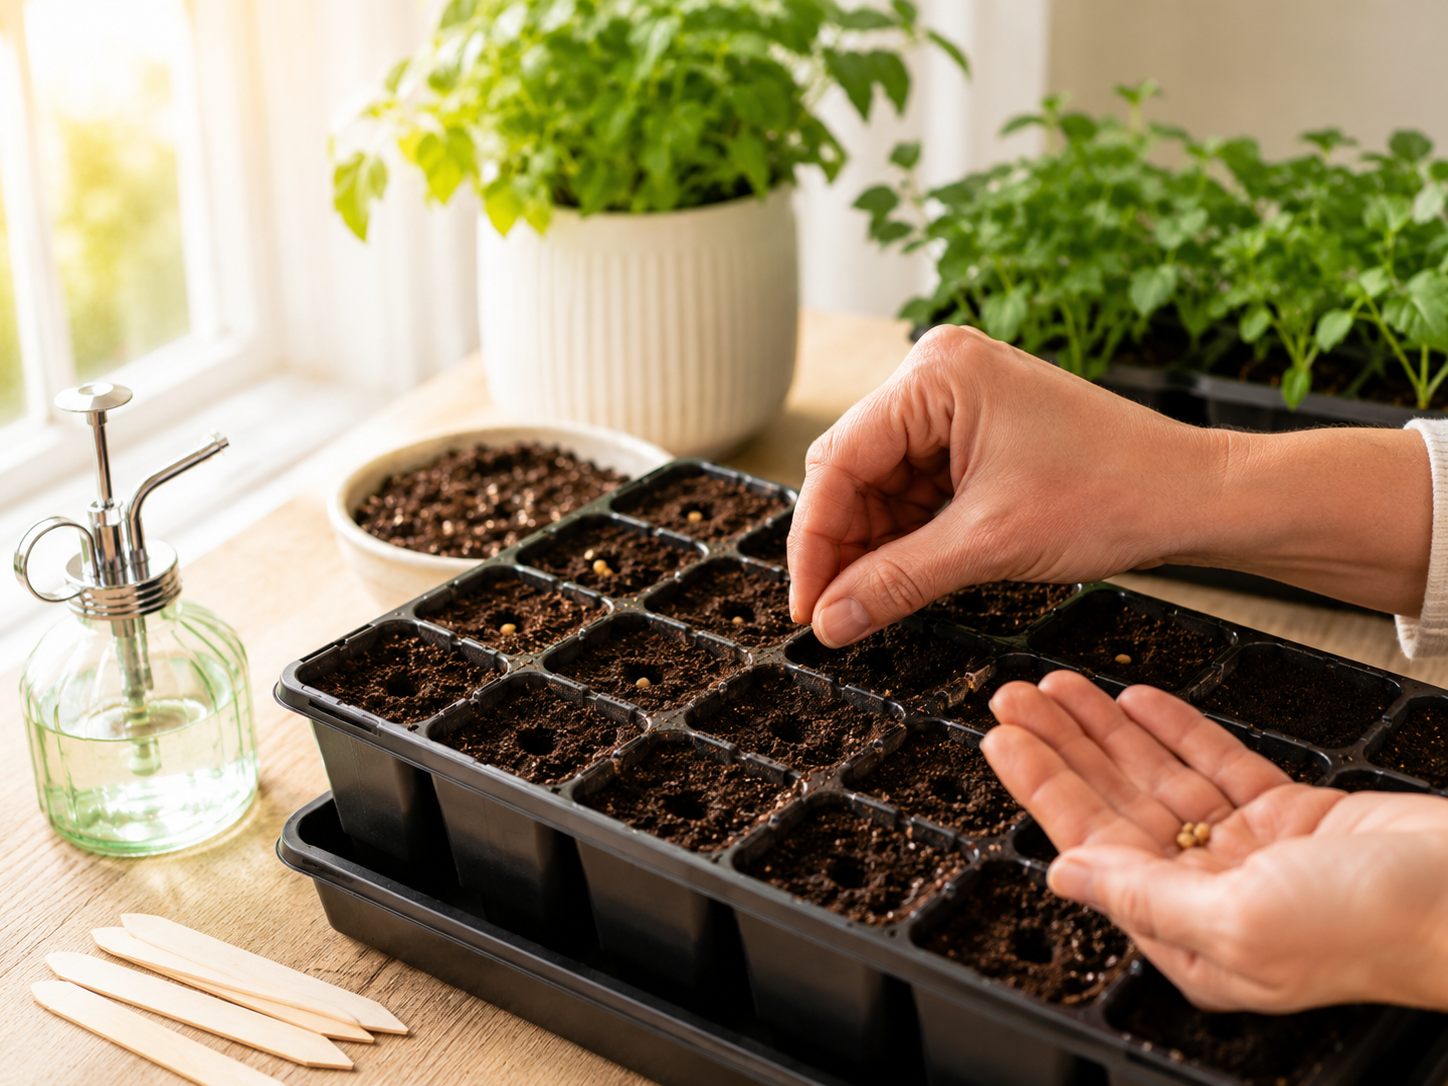
Step 3: Plant the Seeds
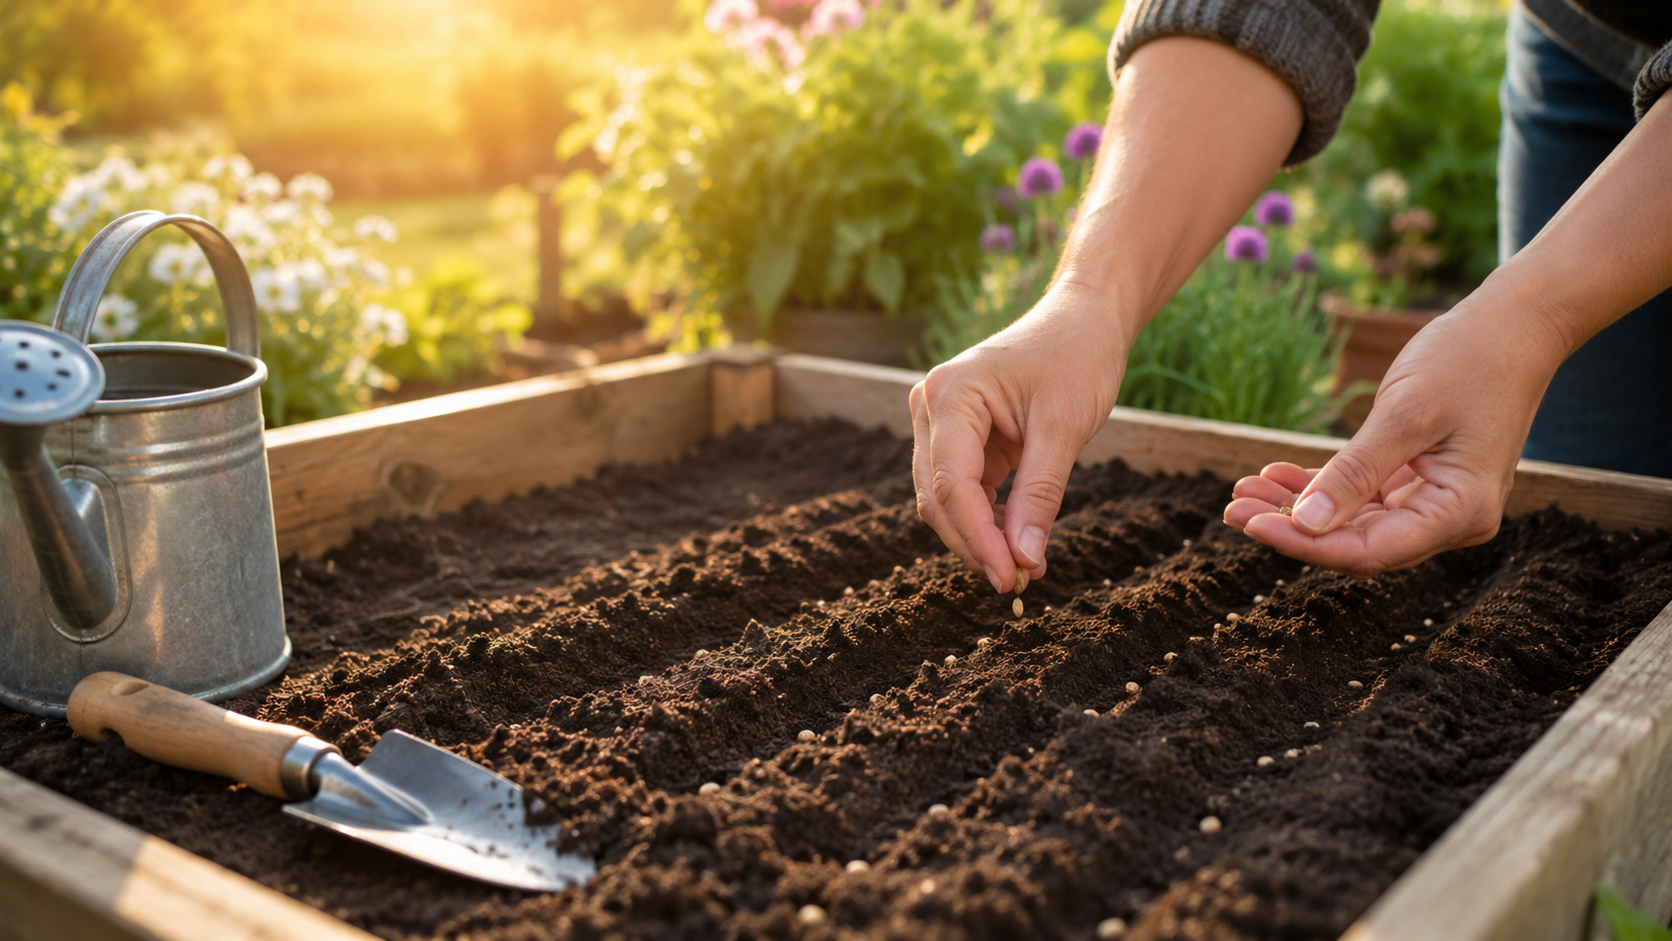
Place the seeds into the soil at the recommended depth.
A simple rule is to plant seeds about twice as deep as their size. Small seeds usually need only a light covering of soil. Some very tiny seeds may need to stay near the surface because they need light to germinate.
Step 4: Water Gently
After planting, water gently.
You can mist the top of the soil with a spray bottle or water from the bottom by adding water to the tray underneath.
Keep the soil moist while waiting for germination. Do not let it dry out completely, but also avoid soaking it.
Step 5: Keep Seeds Warm
Many seeds sprout best in a warm place.
Place your seed tray in a warm room, on a shelf, or in another stable indoor spot. A seedling heat mat can help, but it is not always necessary.
Step 6: Give Seedlings Enough Light
Once the first sprouts appear, move them to bright light right away.
This is one of the most important steps. Seedlings that do not get enough light will stretch toward the light source and become weak.
If using a grow light, keep it close to the tops of the seedlings. If using a window, choose the brightest window you have and turn the tray regularly so the seedlings grow evenly.
Step 7: Keep Moisture Steady
Check your seedlings every day.
The soil should stay lightly moist, but not wet. Too much water can cause problems, while too little water can dry out young roots.
Bottom watering is a good method because it encourages roots to grow downward and keeps the surface from becoming too wet.
Step 8: Thin Extra Seedlings
Sometimes more than one seed sprouts in the same cell or pot.
When seedlings are big enough to handle, keep the strongest one and remove the weaker extras. You can use small scissors to cut extra seedlings at soil level.
Step 9: Watch for True Leaves
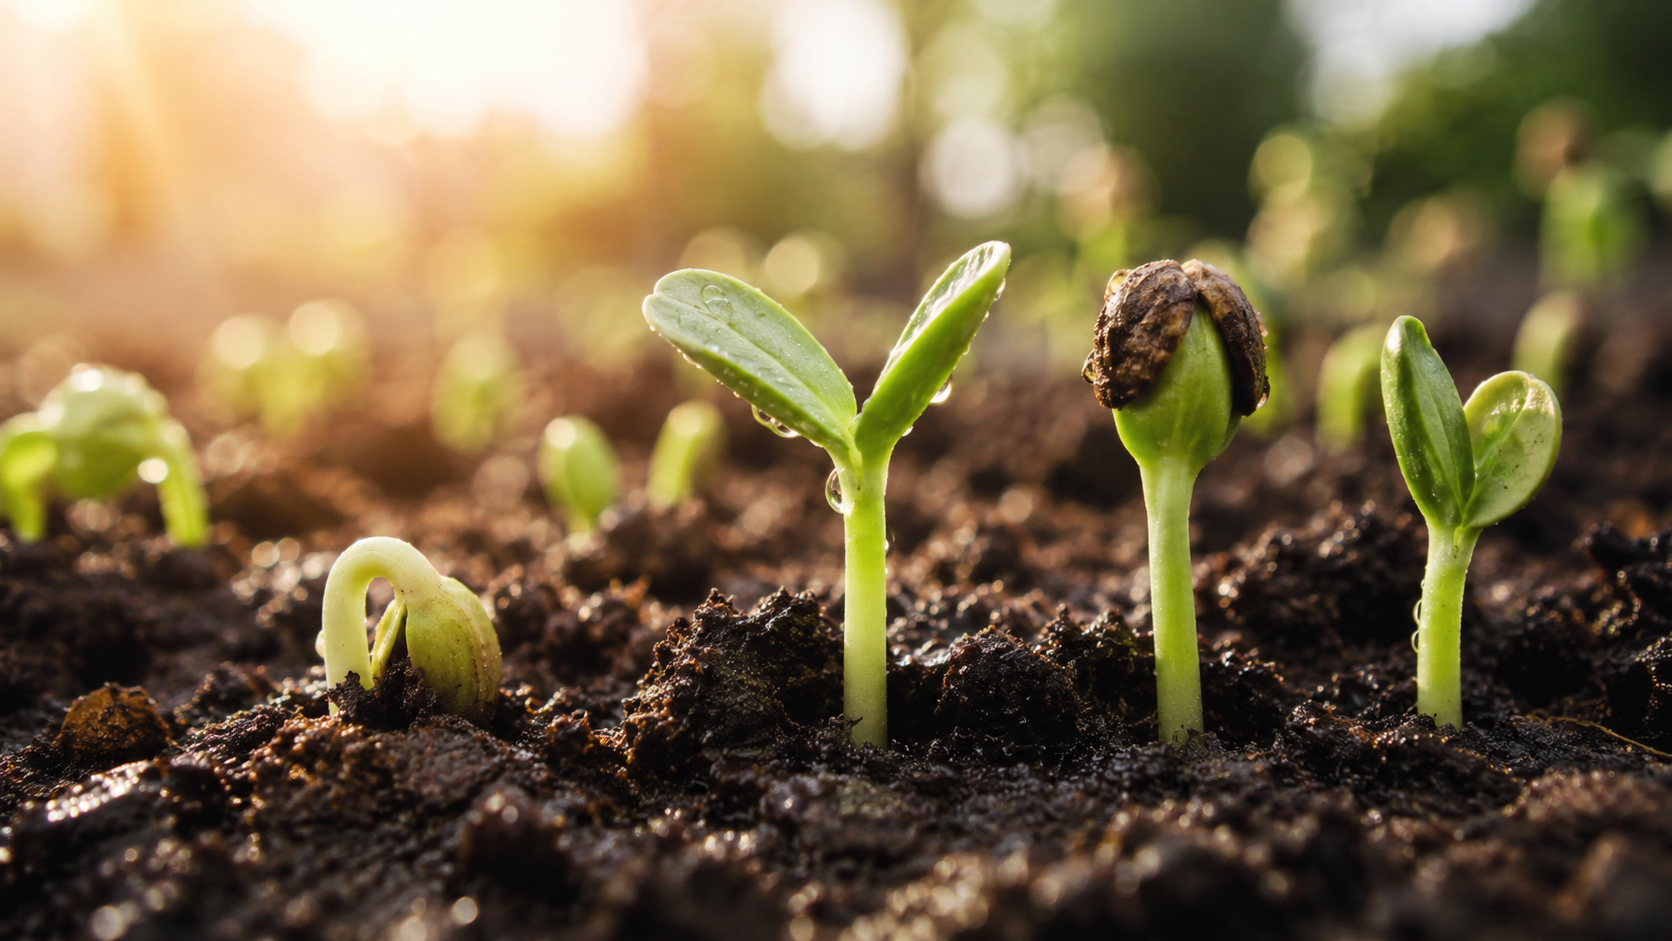
The first leaves you see are called seed leaves. After that, the plant will grow true leaves, which look more like the mature plant.
Once seedlings have true leaves, they are entering a stronger growth stage.
Step 10: Harden Off Before Moving Outdoors
Before planting seedlings outdoors, they need time to adjust.
Indoor seedlings are used to gentle conditions. Outdoor sun, wind, and temperature changes can be stressful at first.
Start by placing seedlings outside in a protected shady spot for a short time each day. Over one to two weeks, slowly increase their time outside and their exposure to sunlight.
This process is called hardening off. It helps seedlings become stronger before transplanting.
Common Indoor Seed Starting Mistakes
Even experienced gardeners make mistakes. The good news is that most seed starting problems are easy to fix.
Starting Too Early
It can be exciting to plant seeds as soon as possible, but starting too early can lead to overgrown seedlings.
If seedlings stay indoors too long, they may become weak, crowded, or root-bound.
Not Enough Light
This is one of the most common problems.
If seedlings are tall, thin, pale, or leaning strongly toward the window, they probably need more light.
Too Much Water
Seeds need moisture, but too much water can cause rot, mold, and weak roots.
Keep the soil moist, not soggy. Always use containers with drainage holes.
Planting Seeds Too Deep
Tiny seeds may not have enough energy to push through too much soil.
Plant seeds at the right depth. Small seeds usually need only a thin layer of soil.
Forgetting to Label
Many seedlings look similar when they first sprout.
Labels save you from guessing later. Always label your trays when you plant.
Moving Seedlings Outdoors Too Fast
Seedlings need time to adjust to outdoor conditions.
Skipping the hardening off process can cause wilting, sunburn, or transplant shock.
Simple Tips for Stronger Seedlings
- Start with a few easy seed varieties.
- Use clean containers.
- Keep the soil lightly moist.
- Give seedlings bright light after they sprout.
- Do not crowd too many seedlings together.
- Turn trays regularly if using window light.
- Use a small fan on low setting for gentle airflow.
- Be patient with slower seeds.
- Celebrate every sprout.
Growing from seed is a learning process. You do not need everything to be perfect. Each tray teaches you something, and every healthy seedling is a small success.
Can You Start Seeds Indoors Without a Grow Light?
Yes, you can start some seeds indoors without a grow light, especially if you have a very bright window.
Herbs, microgreens, lettuce, and some flowers may do well in bright natural light. However, if your seedlings become tall and weak, they probably need stronger light.
A grow light can make indoor seed starting easier because it gives seedlings steady light every day, even when the weather is cloudy.
How Long Does It Take Seeds to Sprout Indoors?
Different seeds sprout at different speeds.
Some seeds may sprout in just a few days. Others may take one to three weeks or longer.
Fast-growing seeds like microgreens, lettuce, basil, and radishes usually sprout quickly. Tomatoes, peppers, flowers, and fruit seeds may take more time.
Do not give up too soon. Keep the soil moist, warm, and patient.
When Are Seedlings Ready to Transplant?
Seedlings are usually ready to transplant when they have several true leaves, healthy stems, and strong roots.
They should not be too tiny, too weak, or too crowded.
Before transplanting outdoors, always harden them off first. This gives them the best chance to adjust and continue growing.
If you are growing herbs, microgreens, or compact plants indoors, you may not need to transplant them outside. You can move them into a larger container and keep growing them indoors or on a sunny balcony.
Best Indoor Seed Starting Ideas for Small Spaces
You do not need a large garden to enjoy seed starting.
- Grow basil, parsley, or cilantro on a sunny windowsill.
- Start microgreens in a shallow tray for quick harvests.
- Grow lettuce in small containers.
- Start flowers indoors and move them to balcony pots later.
- Grow compact vegetables in containers.
- Start pollinator-friendly flowers for your garden or patio.
Small spaces can still grow beautiful things. A windowsill, balcony, shelf, or corner of your home can become the beginning of your garden.
Frequently Asked Questions
Is indoor seed starting good for beginners?
Yes. Indoor seed starting is a great choice for beginners because you can control the growing environment more easily. Start with easy seeds and a small setup.
What are the easiest seeds to start indoors?
Basil, lettuce, microgreens, tomatoes, zinnias, marigolds, and many herbs are good beginner-friendly choices.
Do seeds need light to germinate?
Some seeds need light to germinate, while others prefer to be covered with soil. Always check the instructions for the specific seed variety.
How often should I water indoor seedlings?
Check them daily. Water when the soil surface starts to feel dry, but do not let the soil become soggy.
Why are my seedlings falling over?
Seedlings may fall over because of weak light, too much water, poor airflow, or disease. Give them brighter light, improve airflow, and avoid overwatering.
Can I start flower seeds indoors?
Yes. Many flower seeds can be started indoors, especially if you want earlier blooms. Zinnias, marigolds, cosmos, petunias, and many other flowers are good options.
Can I start vegetable seeds indoors?
Yes. Many vegetable seeds grow well when started indoors, including tomatoes, peppers, lettuce, cucumbers, cabbage, and cauliflower.
Start Your Indoor Garden with Confidence
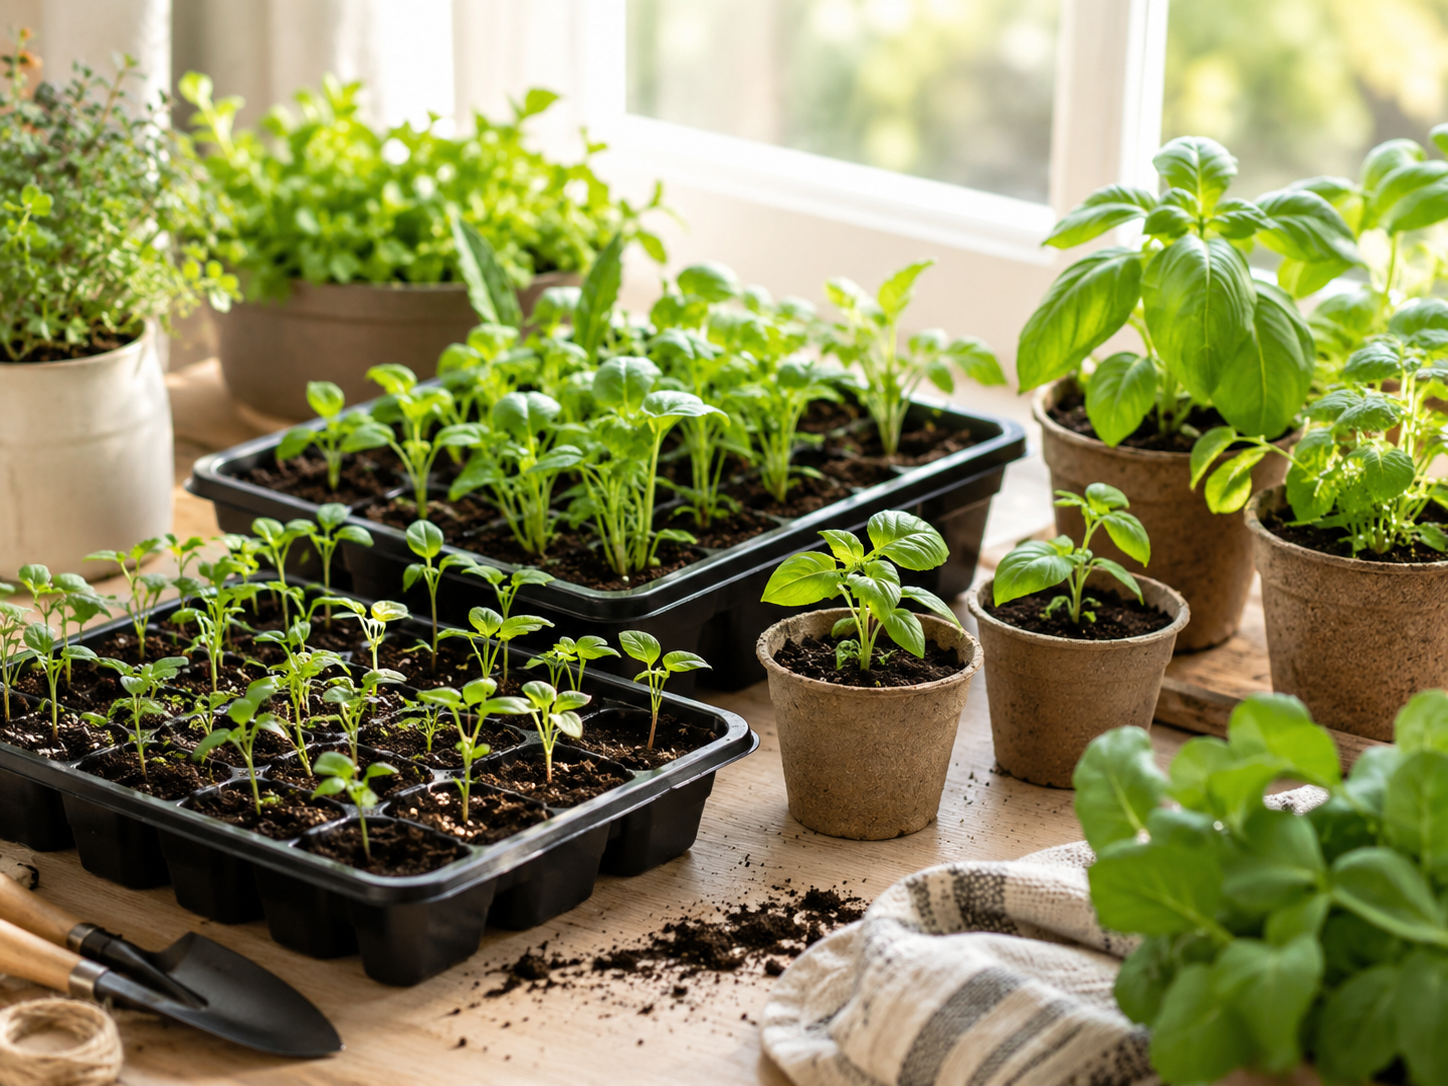
Indoor seed starting is not about being perfect. It is about giving your seeds a good beginning.
Start with a few easy seeds. Keep the soil gently moist. Give your seedlings enough light. Watch closely, learn as you go, and enjoy each small sign of growth.
The first sprout is always exciting. It reminds you that something beautiful can begin from something very small.
Ready to Grow from Seed?
Explore Plantjoyfarm’s beginner-friendly seeds, vegetable seeds, flower seeds, herb seeds, fruit seeds, and microgreens seeds to start your indoor growing journey today.
Shop Seeds at Plantjoyfarm